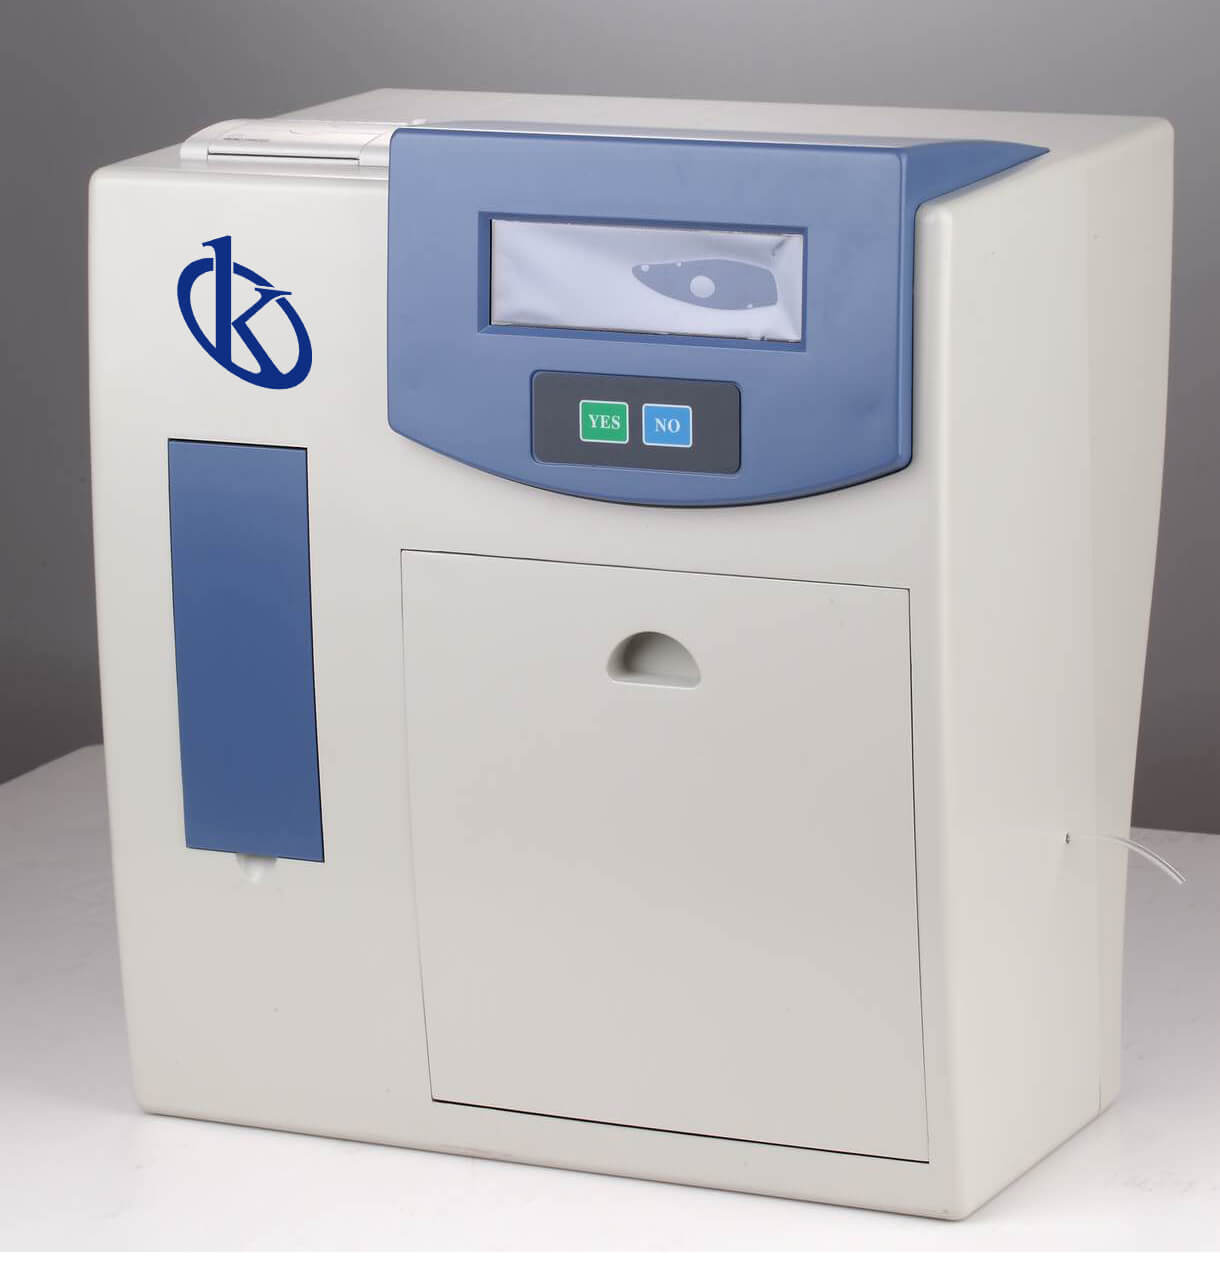
Installation and Startup Guide for the YR05169 Electrolyte Analyzer
The YR05169 Electrolyte Analyzer is a cutting-edge laboratory instrument designed for real-time monitoring of various electrolyte levels. This guide aims to provide a detailed walkthrough of the installation and startup process, ensuring that users can maximize the performance and reliability of the YR05169 in their laboratory settings.
Understanding the YR05169 Electrolyte Analyzer
The YR05169 Electrolyte Analyzer utilizes advanced technology to deliver accurate and timely measurements of electrolytes such as Potassium (K), Sodium (Na), Chloride (Cl), Ionized Calcium (iCa), and many others. It is essential to familiarize yourself with its features and functions before initiating the installation process. The automatic tracking and correction of electric potential, real-time system diagnostics, and automatic liquid waste detection are just a few highlights of this sophisticated analyzer.
Technical Specifications of the YR05169
| Model | Brand | Category | Subcategory | Price (USD) | Price (EUR) | Net Weight (kg) | Gross Weight (kg) | Dimensions (cm) | Package Dimensions (cm) |
|---|---|---|---|---|---|---|---|---|---|
| YR05169 | Kalstein | Analyzers | Electrolyte Analyzers | 6797.50 | 5593 | 8 | 27 | 38 x 27 x 40 | 56 x 41 x 51 |
Unboxing and Initial Setup
Upon receiving your YR05169, it is crucial to proceed with unboxing carefully. Ensure that you have the following items available:
- YR05169 Electrolyte Analyzer
- User manual
- Power supply unit
- Electrode and sensor accessories
- Calibration solutions
After confirming that all components are included, place the analyzer on a stable, level surface to prepare for installation.
Power-Up Sequence and Calibration
The power-up sequence for the YR05169 is straightforward. Follow these steps:
- Connect the power supply to the analyzer and plug it into a suitable electrical outlet.
- Press the power button to turn on the device.
- Allow the system to complete its self-diagnosis routine, which typically takes a few minutes.
- Once powered up, proceed with the automatic calibration process. The YR05169 features two-point calibration to ensure accuracy in measurements.
It is recommended to perform initial calibration using the provided calibration solutions for optimal results.
Common Setup Mistakes to Avoid
While setting up the YR05169, operators should be mindful of the following common mistakes:
- Not leveling the device accurately, which can lead to measurement errors.
- Using expired or incorrect calibration solutions.
- Forgetting to connect the sensor and electrode securely, resulting in faulty readings.
Double-checking these elements during installation can save time and reduce troubleshooting later.
Site Requirements for Optimal Performance
To ensure the YR05169 operates effectively, the following site requirements must be met:
- Maintain a temperature range of 15°C to 30°C.
- Keep the humidity levels between 30% to 70%.
- Ensure stable voltage and frequency supply (220V, 50Hz).
- Provide adequate ventilation to prevent overheating.
Failure to meet these requirements can affect the analyzer's performance and lifespan.
Frequently Asked Questions
What is the automatic calibration feature in the YR05169?
The YR05169 comes equipped with an automatic calibration feature that adjusts the slope and intercept during the calibration process. This ensures accurate measurements across various sample conditions.
How does the YR05169 detect and filter tiny bubbles?
The analyzer incorporates advanced technology that detects and filters out tiny bubbles in the sample. This prevents obstructions in the measurement pathway, ensuring precise readings.
What is the minimum sample volume required for testing?
The YR05169 requires a minimum sample volume of 60uL for accurate testing, making it suitable for a variety of sample types, including small volumes.
How can I troubleshoot inconsistent readings from the YR05169?
Inconsistent readings can arise from several factors, including improper calibration, contamination, or a faulty electrode. Ensure that calibration is performed correctly and check for any residual substances in the sample pathway.
What should I do if the analyzer does not power on?
If the YR05169 does not power on, check the power connections and ensure that the outlet is functioning. If the device still does not respond, consult the user manual for further troubleshooting steps.
Can the YR05169 be used in different laboratory settings?
Yes, the YR05169 is versatile and can be used in clinical, industrial, and educational environments. It can be customized based on specific requirements in each setting.
Where can I request a quote for the YR05169?
You can easily request a quote on Kalstein Plus to get the best pricing and availability for the YR05169 Electrolyte Analyzer.
If you are looking for a fusion of innovation and quality, you have come to the right place. At Kalstein, we offer you the luxury of exploring our exclusive catalog of laboratory equipment. We manufacture every device to the highest standards of excellence. Our intuitive and seamless online purchasing channels are designed for your convenience, securing the most competitive prices. Hesitate no longer — we bring science to life, it is time to become part of our community.